<<-- Introduction | <-- Character birth | World map 1 -->
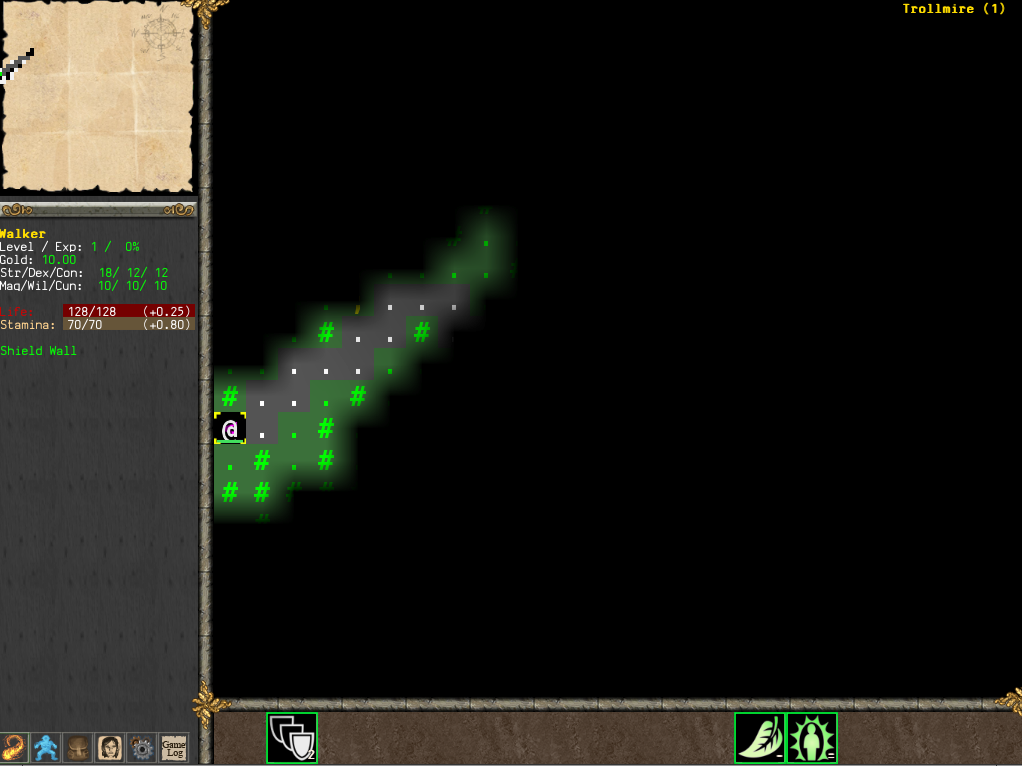
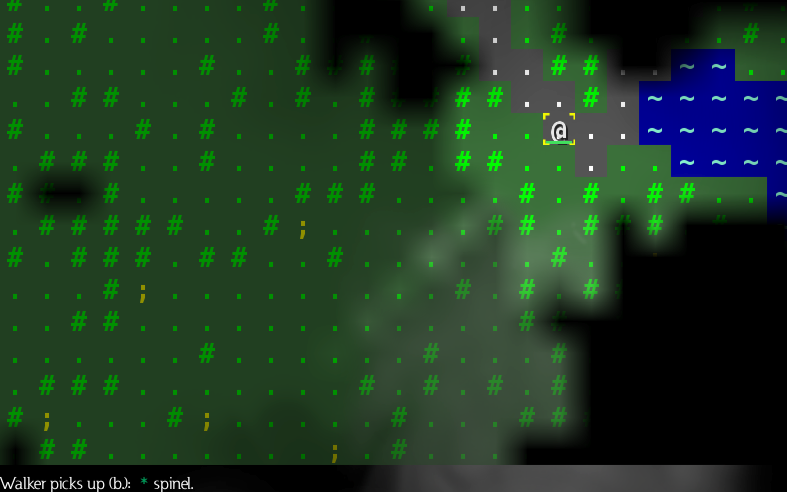
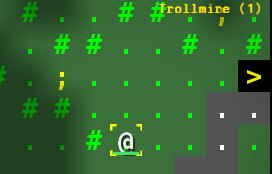
Here we are in the Trollmire! The @ sign with a yellow border is our character. The minimap in the upper left shows a zoomed-out view of the whole level. The icon bar along the bottom shows the talents that we've mapped to hotkeys. The green borders around them mean they're ready to use. A red border means the talent is on cooldown -- we'll get to that later.
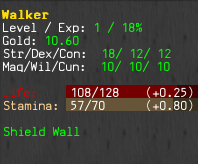
On the left, we can see our Life (critically important!) and our Stamina. These bars are called resources, and these are the only two we have for now. If we run out of Life, we die -- game over, since I'm playing this in Roguelike mode (unless I find the Blood of Life). If we run out of Stamina, we can't use most of our talents, but we can still attack with our weapon.
We can also see that we're level 1, with 0% of the experience earned toward level 2. We have 10 gold pieces, and Shield Wall is active.
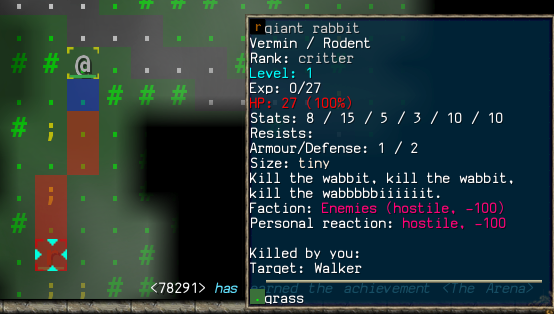
We've walked around a bit, and found our first monster, and oh, what a vicious one it is! (I pressed the Shield Pummel hotkey, even though I'm not in range, because that will automatically focus on the nearest enemy. I'll hit Esc to cancel it, since I can't actually Shield Pummel the rabbit from here.)
Seriously, this is a weak opponent, and we'll have no trouble killing it.
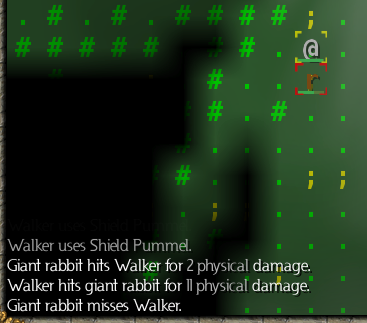
There's no need even to use our talents for this fight. We'll just walk up to it and attack it. The text in the lower left shows the last few items from the game log. The Shield Pummel was aborted, but it still shows up here. It doesn't show the time I spent walking toward the rabbit. When I got to the rabbit, it hit me for 2 points of damage. Then I attacked it (by moving into it), and I hit it for 11 damage. Then it missed me.
That's a typical result for Fighters against weak enemies -- they miss us a lot, and when they do hit us, they don't do much damage. We don't exactly disembowel them with a single hit either, but as you can see, we're doing more than 5 times as much damage as we're receiving. The fight won't take long.
Then again, remember, this is just a rabbit.
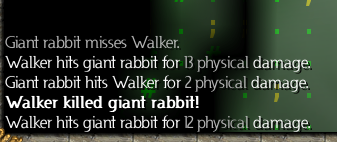
A couple more hits, and it's dinner.
(No, you can't actually eat them.)
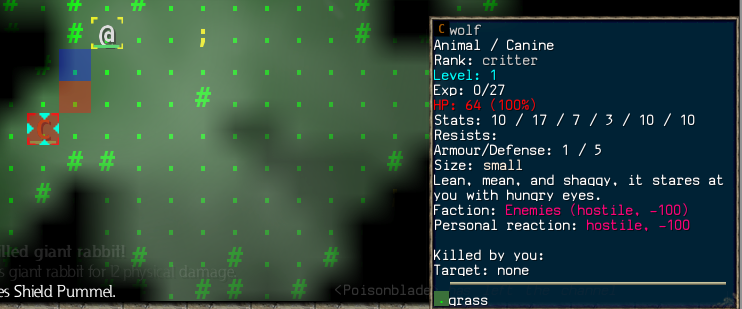
Ah, a wolf. That's a little bit tougher than a rabbit. This time, we're going to approach more cautiously and use our talents.
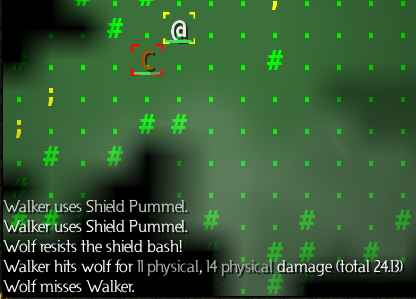
We moved one step south, and the wolf moved one step northeast, bringing it next to us. This is just how we want it -- the monsters come to us, and then we get the first attack on them.
Our first attack was a Shield Pummel. A Shield Pummel performs a weapon strike and a shield strike, and the shield strike has a chance to stun the enemy. In this case, the shield bash didn't stun the wolf, but we did hit it for 24 damage.
After that, our Shield Pummel talent is on cooldown, meaning we can't use it again for a few turns. But we can continue attacking with our weapon.
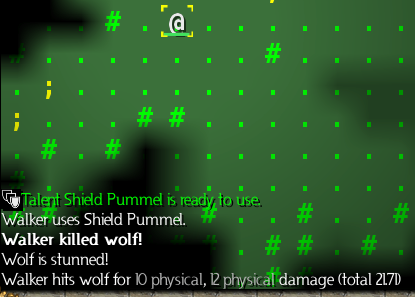
After a few more rounds of combat, our Shield Pummel is ready to go again. The second time, the stun works... or, would have worked, except that we killed the wolf in the process.
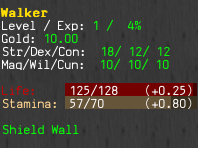
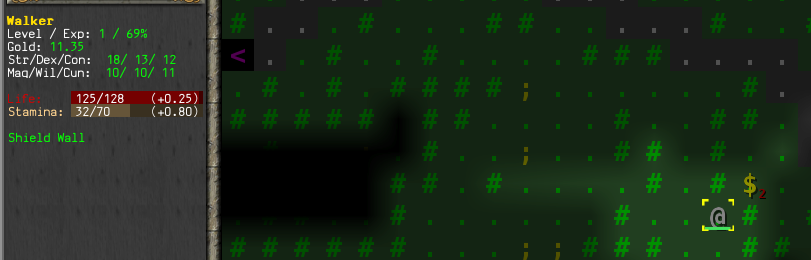
After the fight, we can see that we're barely scratched (Life 125 out of 128), but our Stamina is a bit low. That's because Shield Pummel uses it. These resource levels are still perfectly fine, though, so we'll just continue exploring for now.
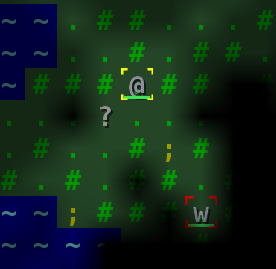
We're not following the road, because we're looking for a particular item on this level -- a scroll of lore. In ASCII mode, it's going to be a white question mark (?). We may have to explore a significant part of the level to find it -- or we may get lucky and find it early.
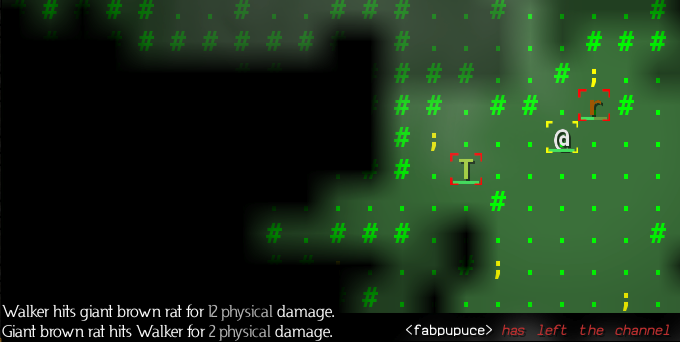
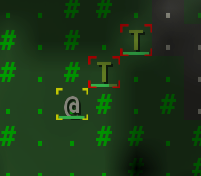
We found a brown rat, and started hitting it... and from the other side, out popped a troll! Now, a Fighter should be able to stand against a rat and a troll, no problem, but it's always good to consider the situation carefully. Caution will keep us alive when the monsters are worse than rats and trolls.
We're standing next to a half-dead rat, and there's a troll 3 steps away. Now, the troll doesn't have any ranged attacks (nor does the rat), so the troll can't actually hit us for the next 2 turns. It's going to have to walk toward us. We can probably take out the rat in those 2 turns, which will leave us ready for the troll one-on-one.
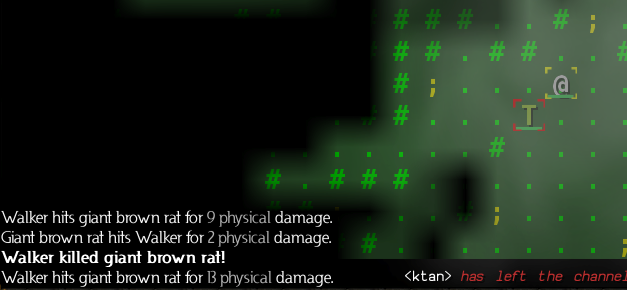
That worked out just as we hoped. Two more hits, and the rat's dead, and the troll's right next to us. Shield Pummel time!
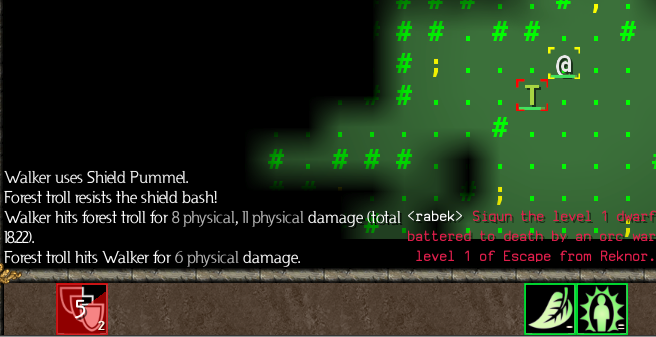
The Shield Pummel hit the troll for 18 damage, but didn't stun it this time. The troll hit us for 6. This is going to be a much tougher battle than any we've seen so far.
The Shield Pummel talent is on cooldown for 5 more turns, so we can't use it again right away. We can either continue bashing the troll, or we can run away. Since we're not in any immediate danger, we'll just keep bashing it.
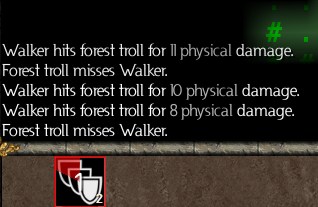
That's our Defense, showing us why we love Fighters. The troll isn't even attacking us every turn. Maybe it's got a slow weapon.

After a while, just using attacks and Shield Pummels, the troll dies, and we get to take its purse!
We're slightly richer now, and 18% of the way to level 2. We're also lightly wounded, and moderately tired. Since there are no monsters in sight, now might be a good time to rest. Pressing r rests until our Life and Stamina are back to full. If any monsters come into line of sight during that time, the game will automatically stop resting.
31 turns of resting later, we're back to normal. (Using the Regeneration Infusion would have sped that up, but then it wouldn't have been available in case a tough monster showed up.) Time to continue our exploration.
We found a gem (it's automatically picked up, just like the gold was), and some water. Still no signs of any equipment or monsters. This has been an extremely tepid Trollmire so far.
If we go into the water, we'll start drowning, very slowly. It's not a serious concern most of the time, since we'll have dozens of turns of air, and we can easily walk out of the water, so long as we aren't totally surrounded by monsters.
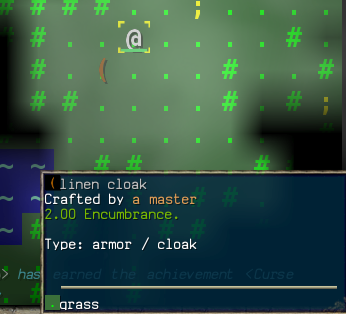
Aha, a cloak! As we step on it, we see that it is a thick linen cloak of Eldoral. Score! Press g to grab it, and w to wear it.
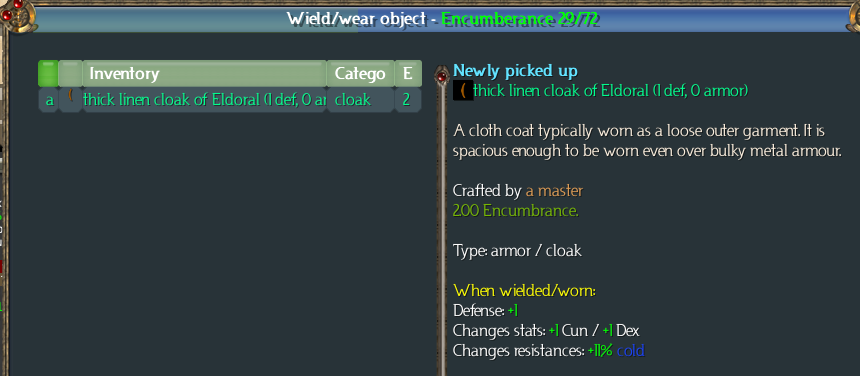
Cunning, Dexterity and cold resistance. And 1 point in Defense. Hey, not too shabby for our first equipment find. Press a (or left-click it) to confirm that we want to wear it. Then Esc to get out of the wear screen.
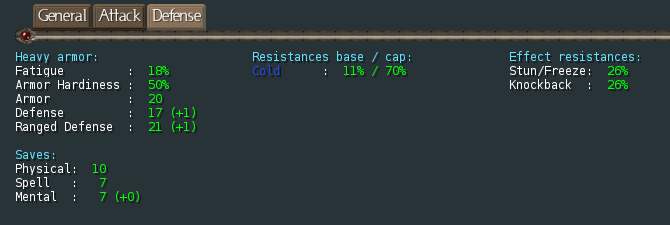
On the Defense tab of the Character screen, we can see the results of our upgrade. We've gained a point in Defense and Ranged Defense (the +1 in parentheses shows us the change since the last time we opened this screen). We've gained +0 Mental Saves, due to the point of Cunning, and due to the fact that it's rounding off. We've also got 11% cold resistance, with a cap of 70%. (All resistances are capped at 70% unless we find special equipment to work around that. We won't need to worry about that for a very long time.)

Here's a dagger. We won't be using daggers, but we'll take this with us, because we can always sell it for gold.
It turns out to be an iron dagger (5-6.5 power, 5 apr). That's fairly basic, and even a first level Rogue would probably end up selling that.
Here's the exit to the next level. But we won't be going there just yet. There are two reasons: first, we haven't found the scroll of lore we're looking for. Second, we don't actually plan to continue the Trollmire right away. After we finish up with this level, we're going to take a little trip. But for now, we still have that lore to find.
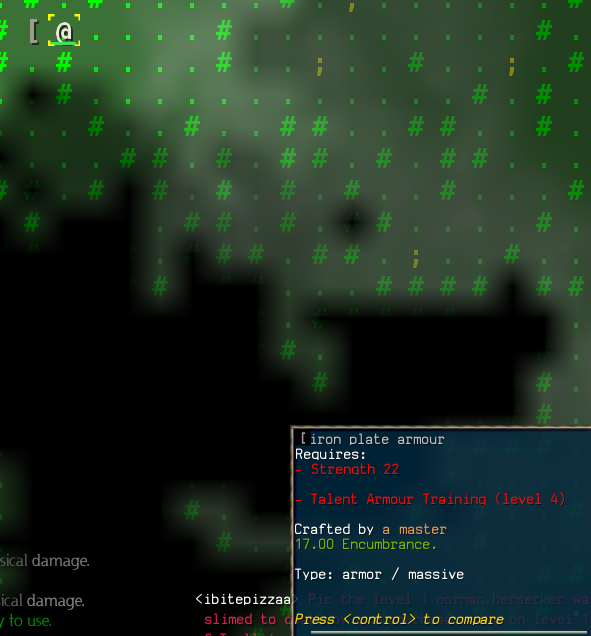
Here's something to make a Fighter stand up and take notice -- armour! We're definitely going to grab this, but we can't wear it right away. It requires more Strength than we have, and it requires a higher level of Armour Training than we have. So, we have to be patient.
As we pick it up, we see that it's an iron plate armour of acid resistance (3 def, 7 armor). We'll wear that as soon as we can, unless we find something even better before that happens.
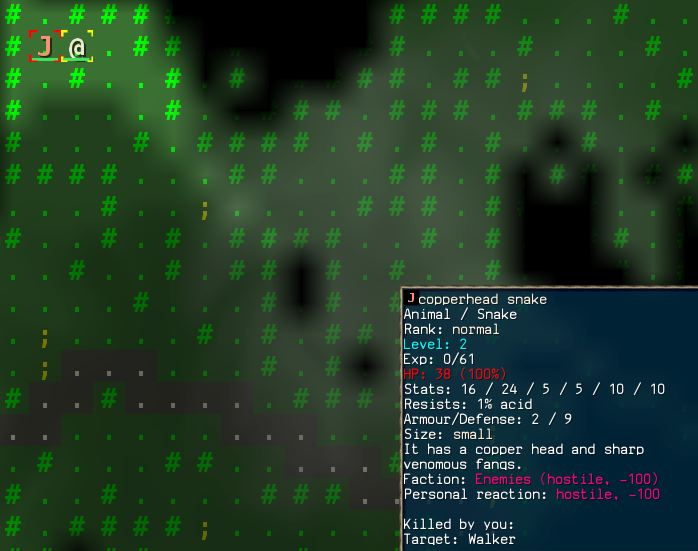
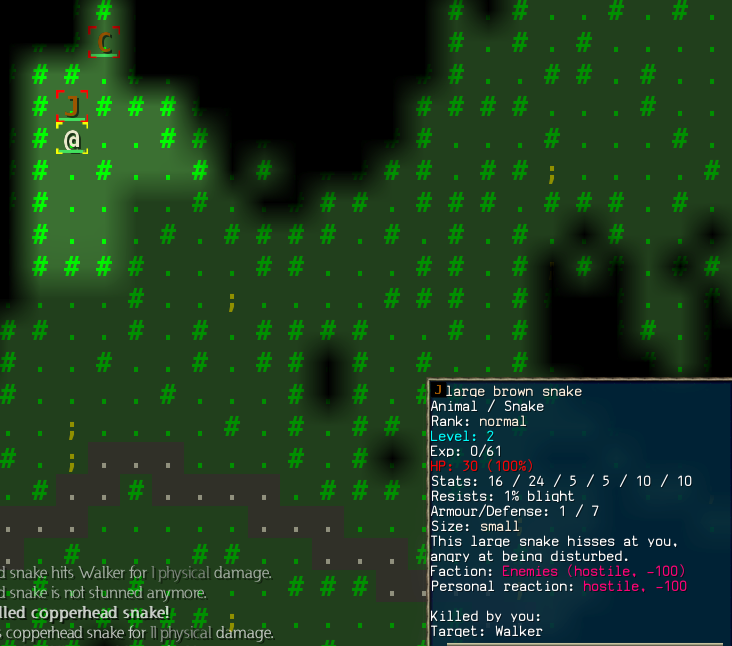
A snake! Snakes can be dangerous, because they are fast (notice its Defense score), and because they can poison us (some of them, anyway). This one's pretty small, but there will be much worse ones later.
Behind that one, we find another one... and a wolf. But look at the trees around us. The wolf can't actually get to us, because the large brown snake is in the way. They have to face us one at a time -- exactly how we want it. So, we'll just stand here and fight them.
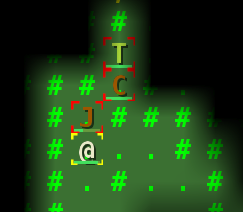
And a troll, too. No problem! Due to the narrow path, the troll can only stand there and cheer for the snake, which is close to dead.
Several rounds later, it's just the troll left. We're starting to show a little bit of damage -- not a lot, but some. So now we're going to use the Regeneration Infusion.

This will restore our Life for the next few turns, while we're fighting the troll. We almost certainly could have won the fight without doing that, but it makes sense to keep our Life up just in case.
Still no sign of that lore, so we continue exploring.
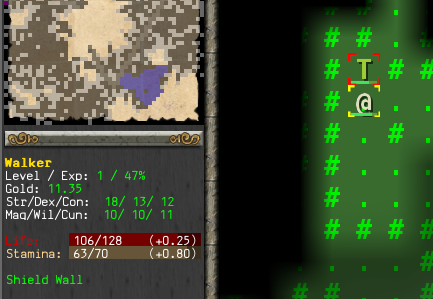
Two trolls and a wolf. Now that could get a little bit ugly. We won't be able to kill the troll before the other two monsters get to us. Having all three hitting us at once might not be the best situation for even a stalwart level 1 Fighter. So let's look at the battle ground.
If we take a few steps to the southwest, we could squeeze into the diagonal opening between those two trees. That's a natural bottleneck. Once we're on the other side of that bottleneck, the monsters will only be able to face us one at a time.
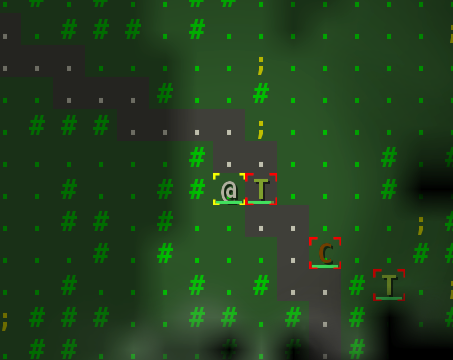
Troll #2 has to stand by and watch while we beat up his friend. The wolf is also somewhere behind the trees, but we can't see it at the moment.
All told, there were even more monsters than we knew about at first. The retreat to the bottleneck turned out to be a really good move. After beating three trolls, a couple wolves, and some rodents, we've got a small pile of loot. We're also a bit winded from all those Shield Pummels. (We used the Regeneration Infusion again during the fighting, so we're barely wounded at all, though there were a few turns where our Life had dropped almost down to double digits.)
We'll grab the gold first, because we're greedy, and also because it'll give us a view of the terrain on the other side of the bottleneck, to see if there are any more monsters. There aren't, so now is a great time to rest.
22 turns later, our Life and Stamina are back to full. Now where's that pesky lore?
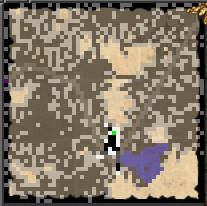
The mini-map shows us where we've explored, and where we haven't. The tan areas in the center and in the southeast are the largest unexplored bits. The lore is most likely to be in one of those spots (simply due to their size). So that's where we're going.
That looks promising! We'll beat up the worm mass first, then grab it.
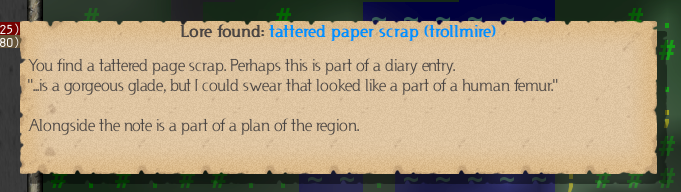
Excellent. That's all we need from this level. Now it's time to head out. We'll go back to the level entrance on the far west side of the level, then hit < to exit to the world map.