<<-- Introduction | <-- Norgos' Lair | Trollmire 2 -->
Having just left Norgos' Lair, now scrubbed clean of vermin, we're now level 6 and have many more options open to us. The first thing we're going to do is head back to Derth. There, we'll do two things: sell off all the junk we're toting around, and do the Arena side quest.
The walk back to Derth is uneventful. We head to the gem store again.
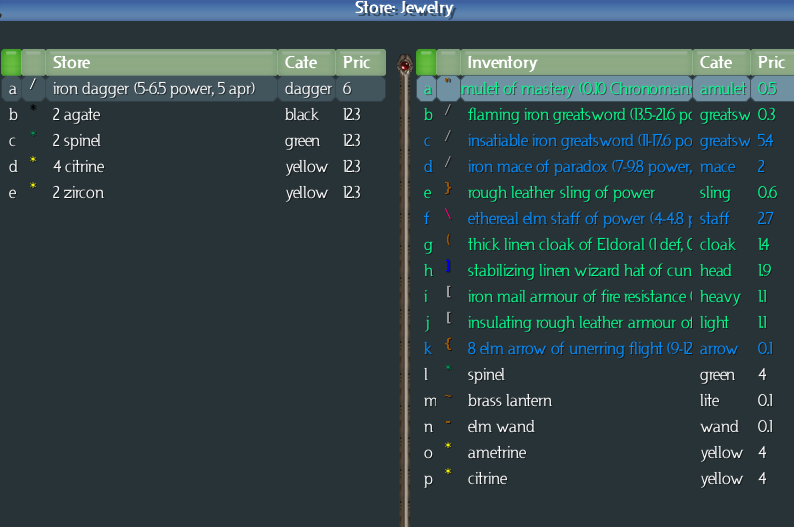
We'll keep the amulet (it's light), and the gems (weightless). Out of the remaining gear, only the Eldoral cloak and the hat of cunning are useful; so we'll keep those as well. Everything else gets sold. Don't forget the brass lantern and the elm wand, hiding in the gems.
Now we have 34.50 gold. That's enough to buy a decent weapon, if a store has one for sale -- but we already have a decent weapon. The steel longsword of paradox is better than anything we're likely to see in a store at this point (we're still only level 6 after all).
The other thing we might consider buying at this point would be a second Regeneration Infusion, but we've already got one of those too. So we don't want to hit the infusions store right now either.
For now, we'll just hold on to our gold, and go do the Arena quest.
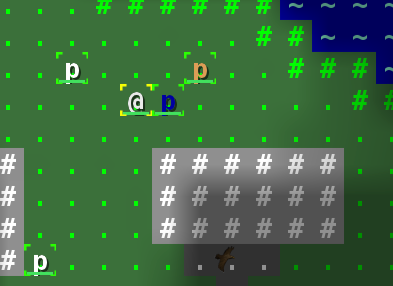
The blue guy behind the northeast building is the Arena quest giver. He's supposed to talk to us (dialog balloon on the map), but it doesn't always happen, for whatever reason. Probably another bug. Anyway, we already know who he is and what he's offering. He goes away when we hit level 10, so we need to do his quest sometime before that. At level 6 with our gear and talents, we're strong enough to do it right now.
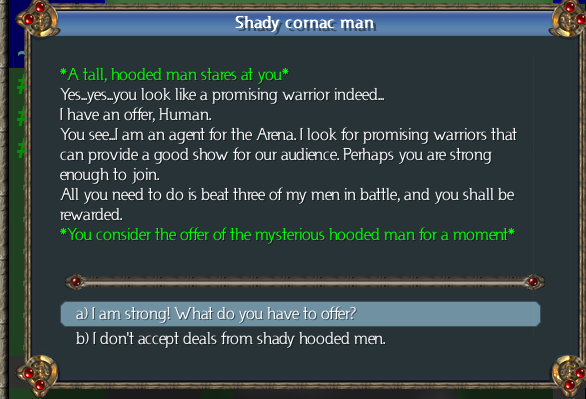
We accept the quest, and enter the Arena.
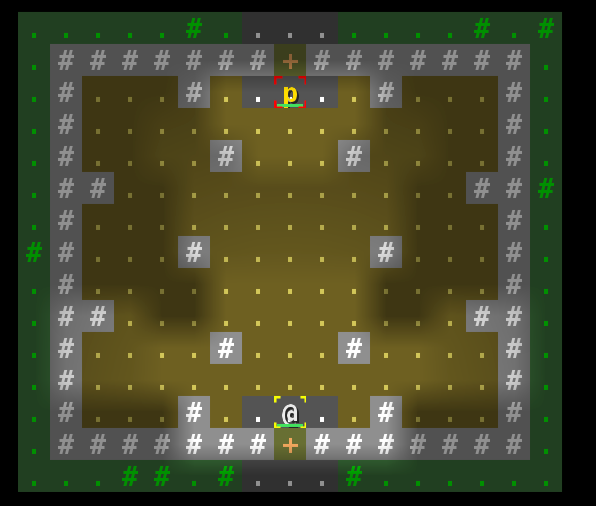
First up is a slinger. He's going to try to hit us with ranged attacks, and push us away when we get close. We don't actually have enough Stamina to use Rush (not with both sustained talents up). Later we'll do something about that... but for now, we'll just brute force him.
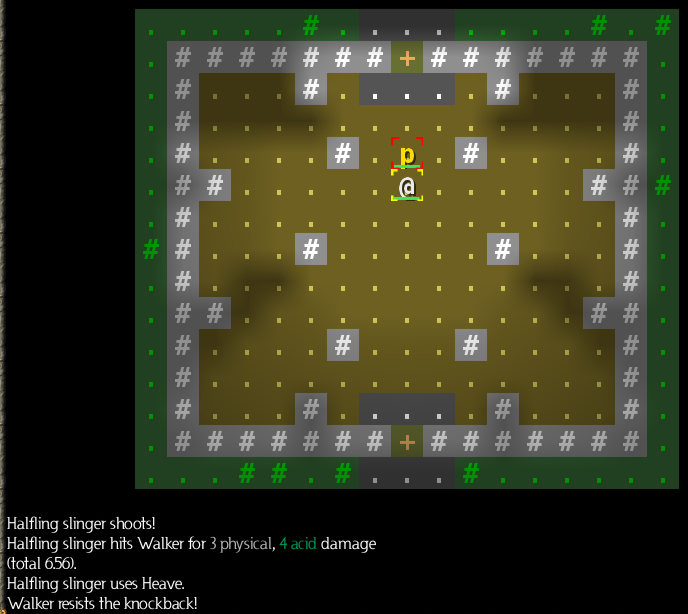
Hey, that knockback resistance isn't entirely useless after all! His Heave failed, so let's Shield Pummel him and then start attacking. Looks like he's got some acidic ammo in his sling, but notice how little damage he does to us. That's due in large part to our Armour (and Armour Hardiness), which decreases the physical damage from projectiles as well as melee attacks.
After taking a thrashing from us, he's trying to run away. That will only keep him alive for a little while. Once we catch up to him, he's toast.
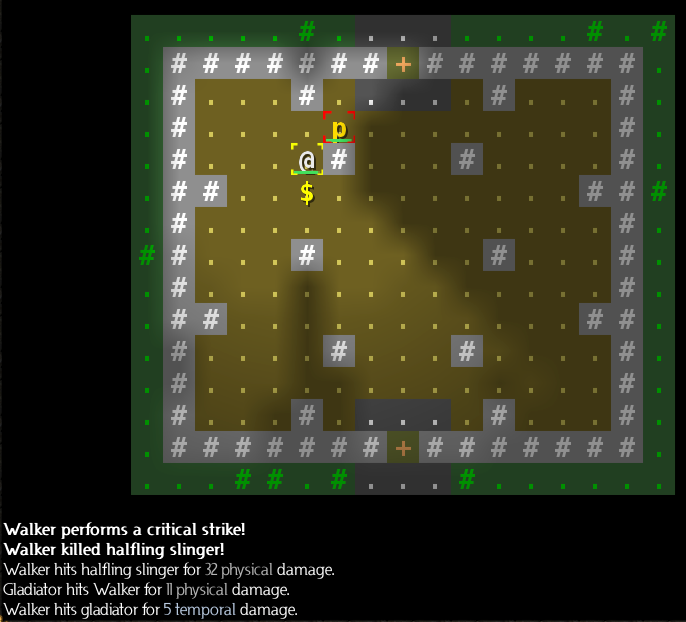
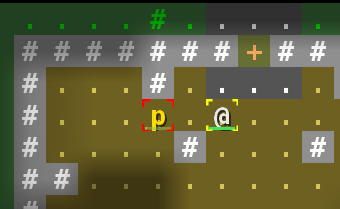
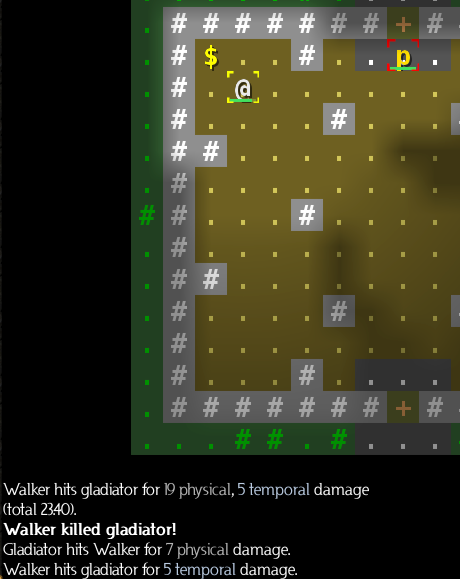
Next up is a gladiator. He's basically a Fighter like us, and he's already managed to hit us once -- for a third of what we're hitting for. We hit the Regeneration Infusion (the bigger one), and then Shield Pummel.

Something happened here -- we both slid southwest. But we can't tell from the few lines of text on the screen, because whatever it was, it scrolled up already. We'll need to check the game log (press Ctrl-M).
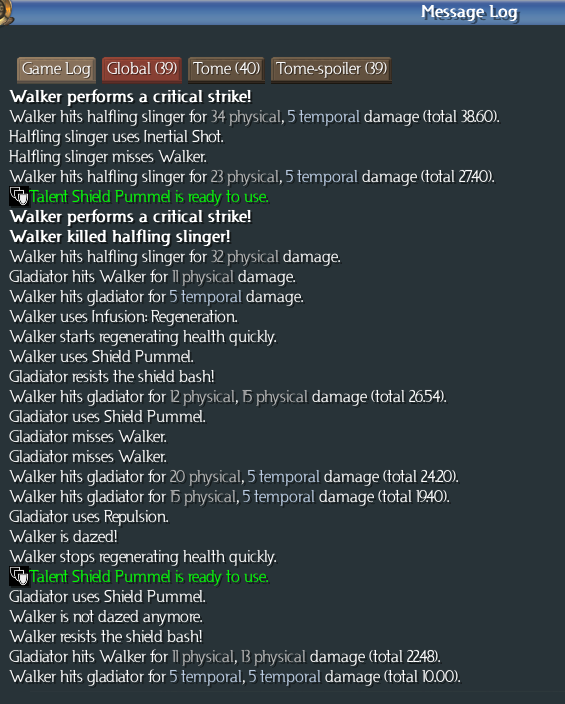
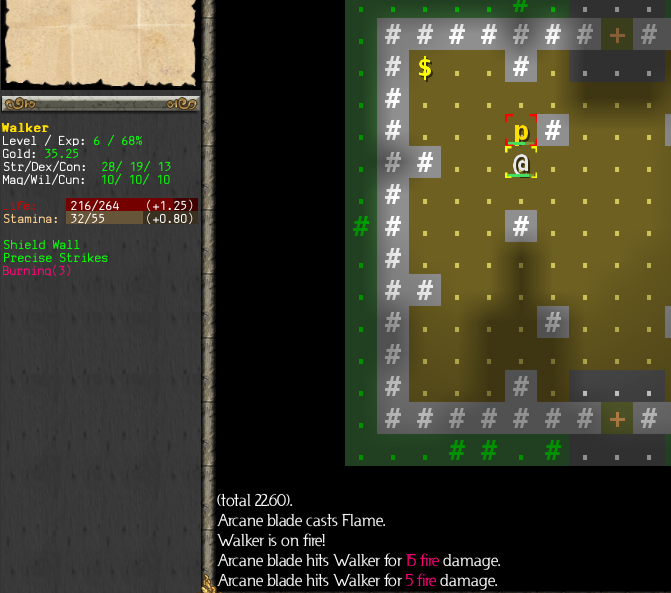
That's a bit more informative. He tried to use Shield Pummel on us, but missed. Then he used Repulsion -- which is why we flew across the screen. This left us dazed, meaning we could not act for a few turns (unless attacked). The next thing we see happen is another Shield Pummel. He must have walked up to us while were were dazed, so he could have another go. His shield bash hit us, for 22 damage, but we resisted the stun. (He also took 10 points in retaliation, from our sword of paradox.)
After a few more rounds, he runs away too. We chase him to the corner and finish him off. This brings up the third and final opponent -- an Arcane Blade.
He's got spells. Time to hit the Regeneration again. Then, we just continue the beating.
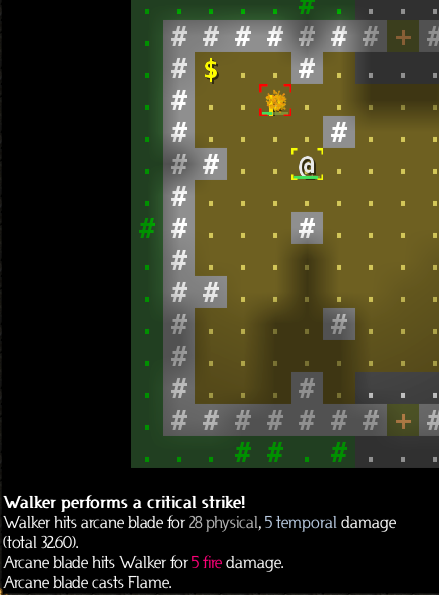
This time his Flame spell hasn't hit us yet. We can dodge it, by guessing where it's going to be, and then not being there. Given our relative positions, there are two possible paths the Flame spell could take to get to us -- south first, or southeast first. It would be nice if we knew which one it would take -- and maybe some players would know that, but I don't happen to be one of them. So I'll just go one step west, which will dodge both possible paths.
Missed me! Later, dodging spells will be a much bigger deal... for now, consider it practice. Now let's close in and try to finish him off.
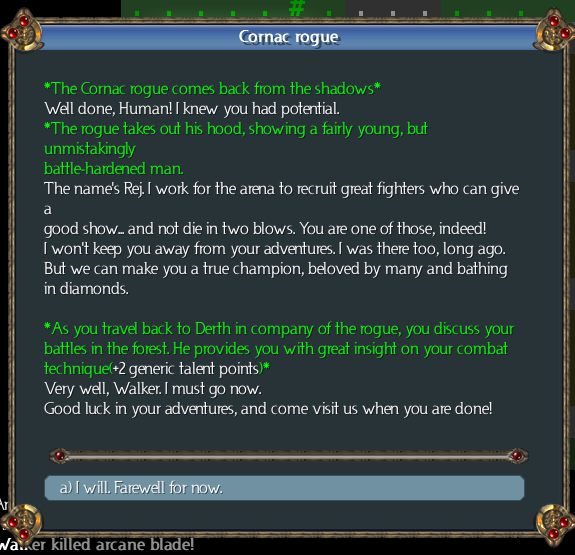
Yay, 2 more generic talent points! We definitely wanted those. We also get an achievement for doing this, and an unlock (the Arena campaign, available at character birth). For this character, though, it's only the talent points that matter.
We put one point in Armour Training, and one in Combat Accuracy. And then we deactivate Precise Strikes. This frees up some of our Stamina, and speeds up our attacks. Checking the C screen, we see that we've still got 37 Accuracy even without the Precise Strikes. That should be enough for now.
The Arcane Blade also dropped some gold, and a shocking iron battleaxe of daylight (9-13.5 power, 1 apr). This is another two-handed weapon, which we'll never use. We'll grab it and sell it later.
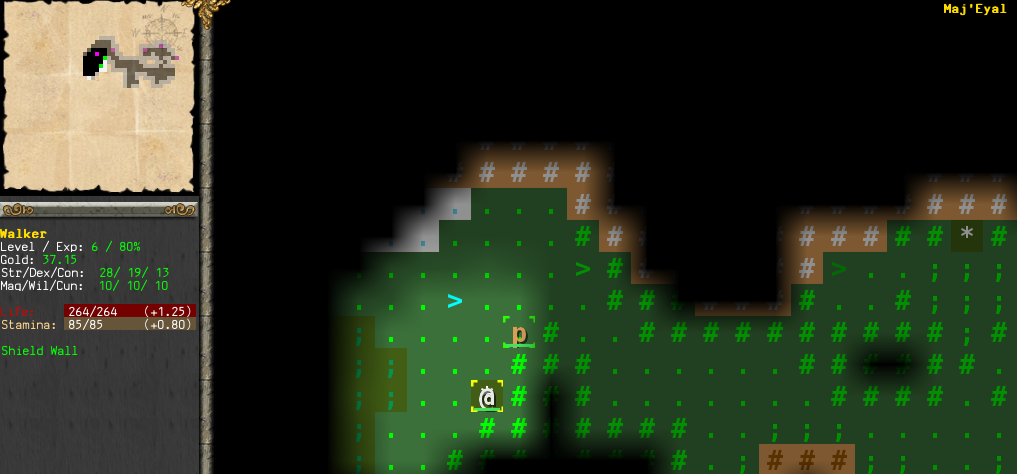
We take this opportunity to rest, since we need to recover Life and Stamina. Then it's back to Derth, following the magic stairs that just spawned.
We arrive on the exit from Derth. Since we're heading out of town anyway, we can just go straight out to the world map.
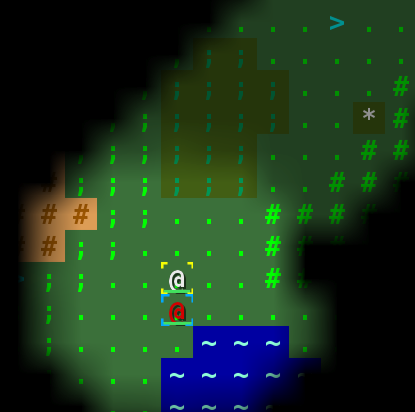
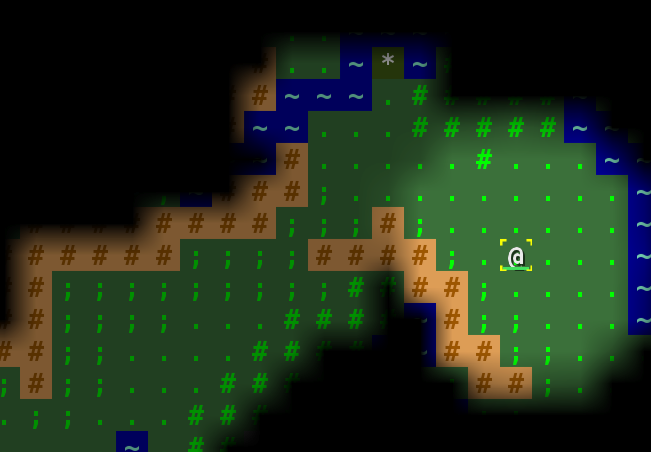
We haven't explored much of the world map at all. Now we're going to do that. The first thing we do is head southwest, until we find the "apprentice mage".
We accept his quest, too. He says he wants 10 magical staves or jewelry, but he'll also accept a single artifact. There are some artifact staves that we might find in the early game. If we find one of those, we'll give it to him and unlock Angolwen. Otherwise, we'll just ignore him for now.
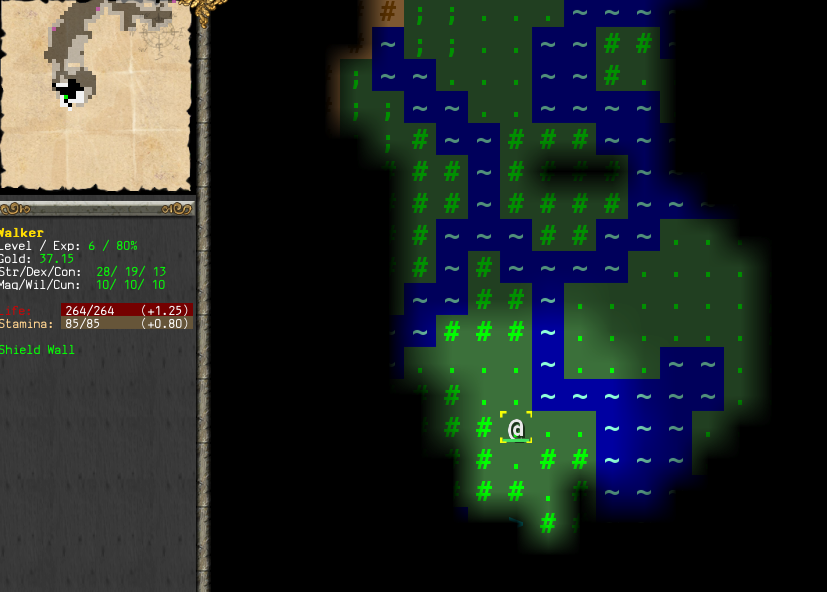
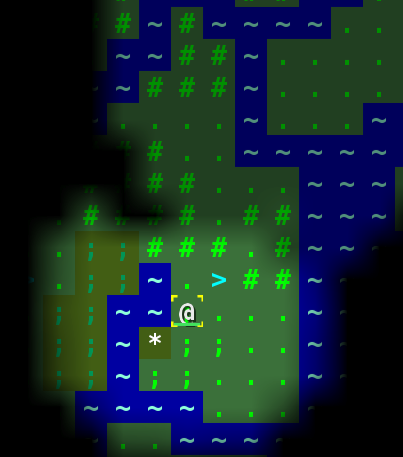
South from the apprentice mage (and the Maze entrance), we can see another wiggly path through the trees. This takes us to Elvala, the home of the Shaloren elves.
In the town of Elvala, we'll find another alchemist. We want to get his quest, too.
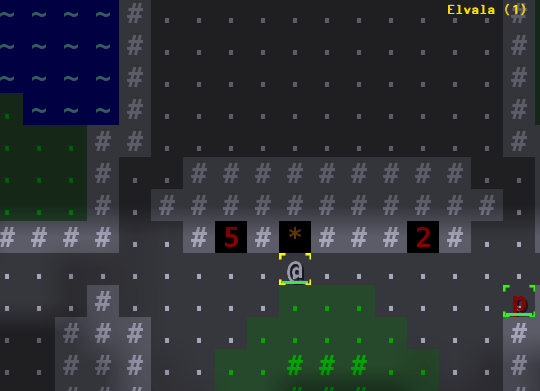
Once again, we're going to skip all the stores, since we don't want to fill them with low-level junk. We just go straight to the brown * and accept the second alchemist quest.
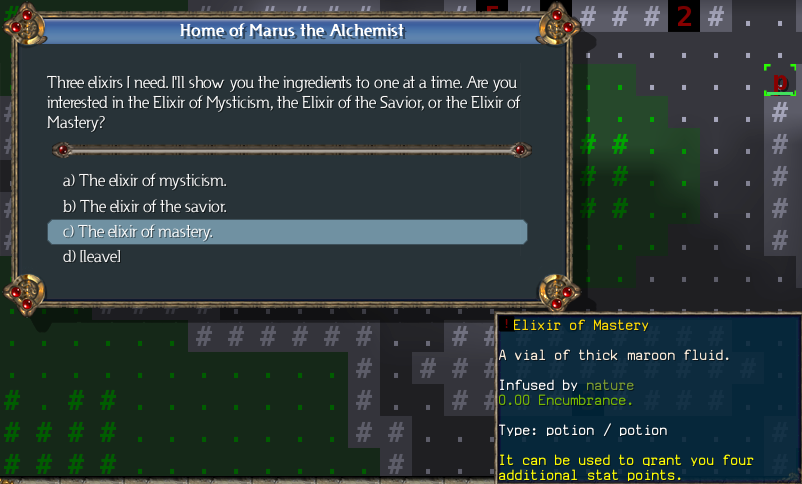
Again, we have a choice. Willpower and Magic don't excite a Fighter, so the first choice is not our first choice. Saving throws are OK, but 4 free stat points would be quite handy. We'll take that one.
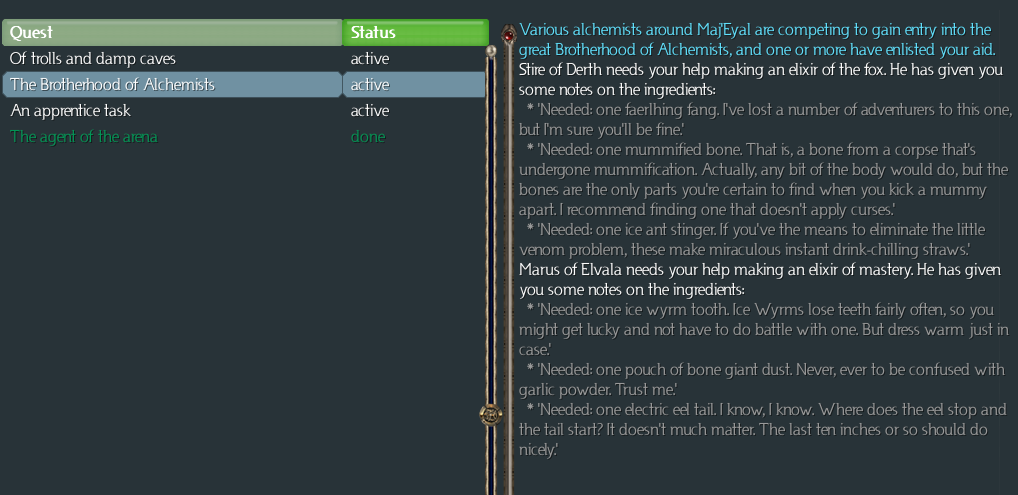
Ice wyrms can be found in some of the dungeons we'll be entering later, if we're lucky. Or unlucky -- it's hard to say which, as they're pretty formidable. Bone giants are not common, but there's a chance we could find one, as we'll also be facing the undead in a few places. The electric eels only appear in one very specific zone, and we may or may not find one when we go there. At least it wasn't a faerlhing this time.
Now it's on to Last Hope, in the southeastern part of the world map, for the third alchemist.
We can see the Zigur encampment, because we're not a spellcasting class. Spellcasters (technically, anyone who first enters the wilderness map with a Mana, Paradox, Vim, Positive or Negative resource bar) will never see it. For now, though, we're just going to ignore Zigur and continue on to Last Hope.
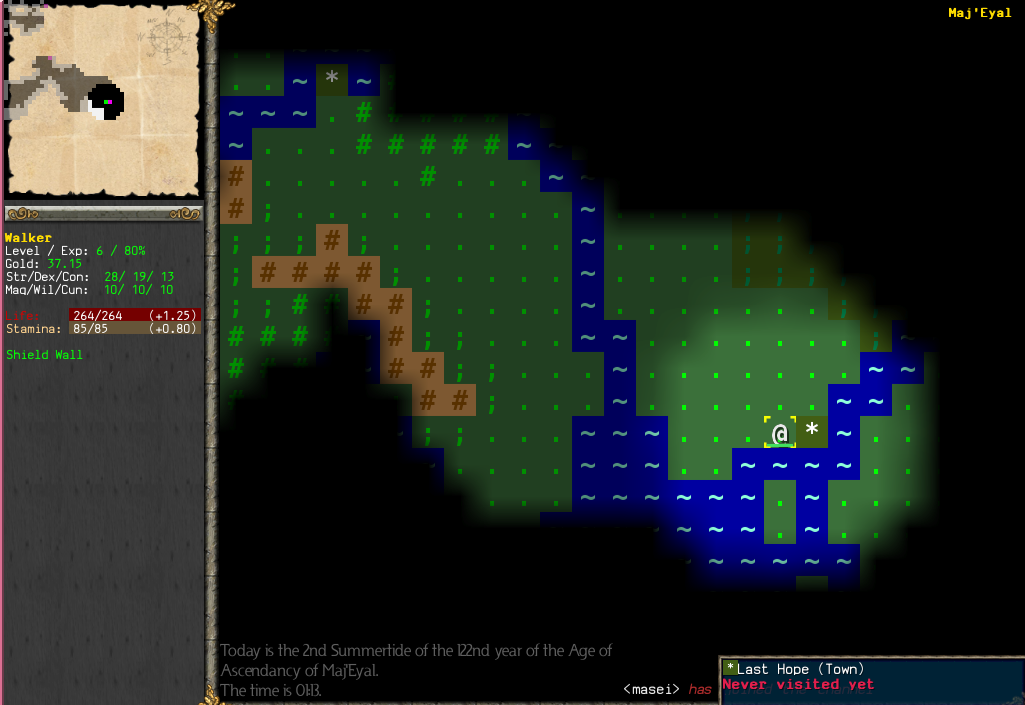
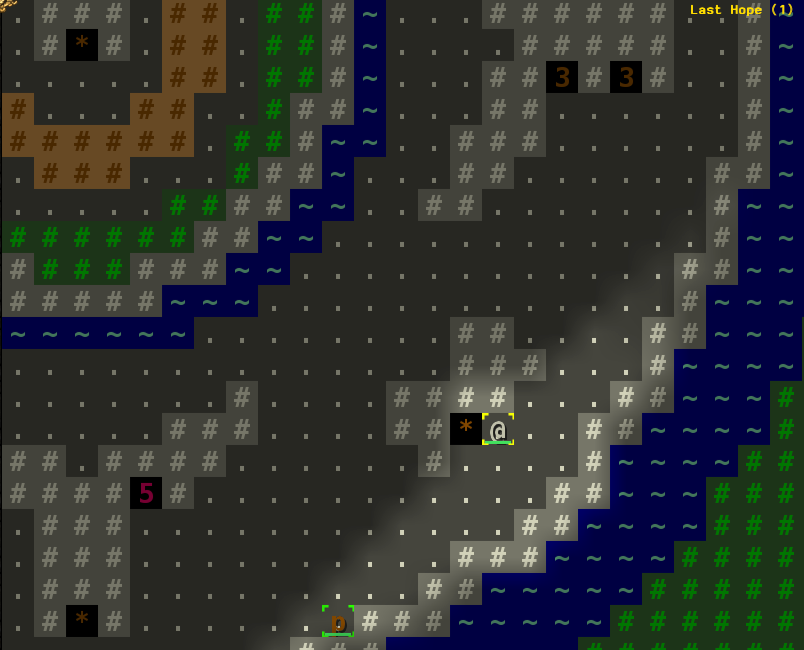
Last Hope is the capital of the Allied Kingdoms (humans and halflings), and has quite a few more attractions than rural Derth (or Elvala). Some of them we'll certainly want to visit later, when we're higher level and have a chance of generating some worthwhile loot. For now, we just head straight to the alchemist, in the southeastern part of town.
Now this alchemist has something much more appealing to Fighters.
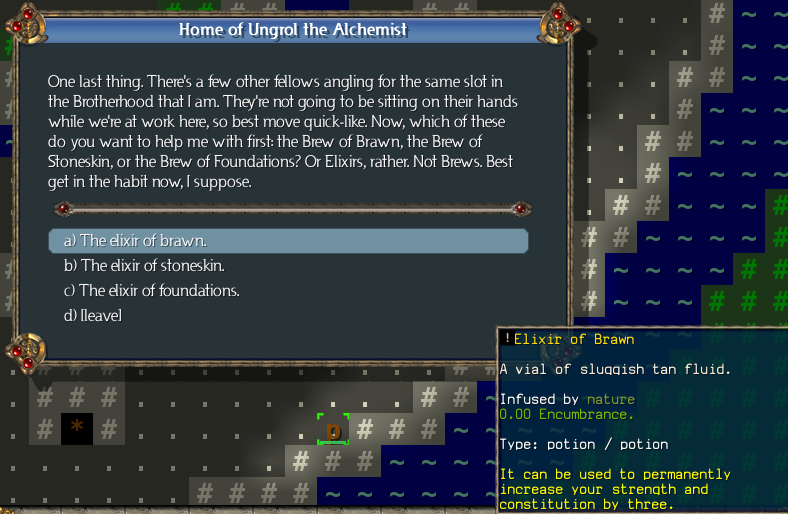
Strength and Constitution are right up our alley. The others aren't bad for a Fighter either, but we'll go for brawn first.
He also tells us to be on the look out for a lass named Celia. Something about madness, mausoleums, and death... um, yeah, we'll check on that, sure thing! (In reality, we'll postpone that one for a while. We want no part of what Celia's been up to at this point.)
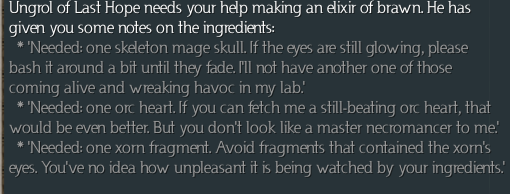
Nice ingredients this time. The orc heart will be the hardest to find, as orcs are not common until the midgame (at which point they're everywhere). The other two are quite common, and we should have them within a reasonable time frame.
There is a fourth alchemist -- a hermit -- whose location on the worldmap is randomized each game. We'll look for him later; it's not a high priority.
Now we have to decide where to go. We have several choices. We've only done one of the first tier dungeons -- the Trollmire, Kor'Pul, the Scintillating Caves, the Rhaloren Camp, Norgos' Lair (done), and the Heart of the Gloom. The Trollmire is the least dangerous of those, until we unlock the optional bit at the end and fight Bill, who's much stronger than the other trolls. But we're close to level 7, and we're a Fighter. By the time we get to Bill, we'll be at least level 8, and more likely level 9 or 10. That should be good enough. So we'll head back to the Trollmire and finish it off.